Install Armbian Bookworm CLI Orange Pi Zero 3
Beginning
Orange Pi Zero 3 is one of the Single Board Computer (SBC) that is increasingly popular among users who are looking for a power-efficient computing solution with optimized performance. With an affordable price and capable specifications, this device is suitable for various purposes, such as light servers, IoT projects, or media centers. One of the best operating systems that can be used on the Orange Pi Zero 3 is Armbian, a Linux distribution specifically designed for ARM-based devices. Armbian is known for being lightweight, stable, and has extensive community support, making it an ideal choice for users who want to maximize the performance of their devices. In this guide, we'll cover the complete steps for installing Armbian on the Orange Pi Zero 3, from device preparation, to the installation process, to the initial configuration to get the system running optimally. See this tutorial through to the end to ensure you can set up and use your Orange Pi Zero 3 with Armbian efficiently!
What is Armbian?
Armbian is a Linux distribution specifically designed for devices based on the ARM architecture, such as the Single Board Computer (SBC), including the Orange Pi Zero 3. Built on top of Debian or Ubuntu, Armbian offers a lightweight, stable, and optimized operating system for devices with limited resources. One of Armbian's main advantages is its regularly updated kernel support, as well as various optimizations that ensure maximum performance without sacrificing stability. In addition, Armbian has an active community of users and developers, making getting technical support and system updates easier. With features such as a minimalist CLI (Command Line Interface), Armbian is perfect for users who want to run servers, IoT projects, or terminal-based applications without a graphical interface that overloads the system.
Tools and materials
- Laptop/PC
- BalenaEtcher application
- Armbian Operating System
- MicroSD (min 8GB)
- Orange Pi Zero 3
- MicroHDMI to HDMI cable (optional)
- Card Reader
Step by Step
- Download the Armbian operating system that you can get on the official Armbian website, use the keyword “Armbian Orange Pi Zero 3”.

- Scroll to the bottom, here you can see there are 3 types of Armbian operating systems, the first is “Desktop”, namely Armbian which uses a Graphical User Interface (GUI) with the GNOME Desktop Environment which means that Armbian can be used like a regular Desktop PC such as Browsing, the second is “Minimal / IOT”, namely Armbian with a CLI (Command Line Interface) display which means it does not have a Desktop Environment, with CLI display means only a display like Terminal on Linux, and the last is “Dedicated Application Image” honestly I don't know what the difference is compared to the previous two, but if I browse this type of image it is equipped with certain software, for example media servers, home automation, embedded, and others
So, in this tutorial I installed the “Minimal / IOT” Armbian because later this Orange Pi Zero 3 will be used for NAS Servers.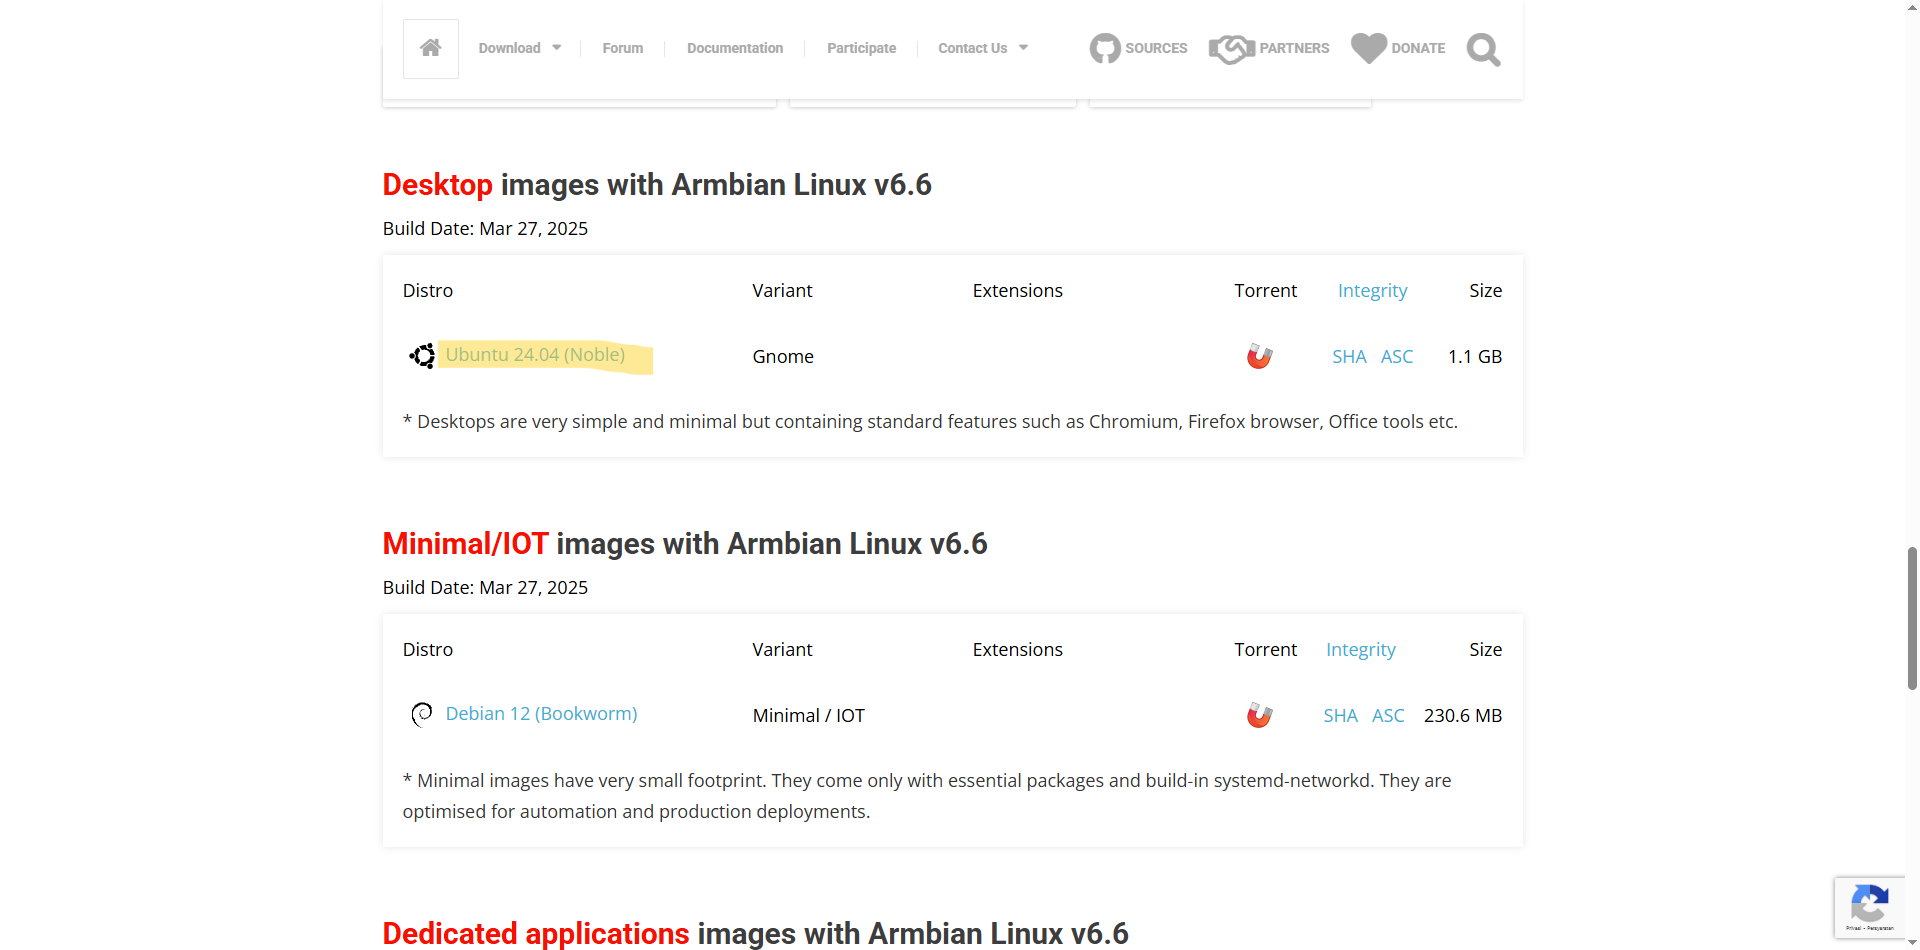
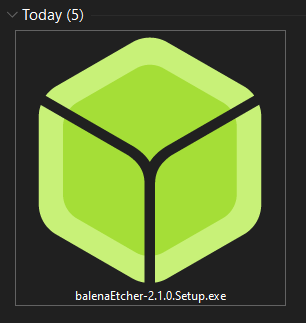
- After downloading the Armbian operating system, the next step is to download and install the BalenaEtcher which is used for flashing the operating system to MicroSD. Please search on Google with the keyword “BalenaEtcher Download” then select the official website.

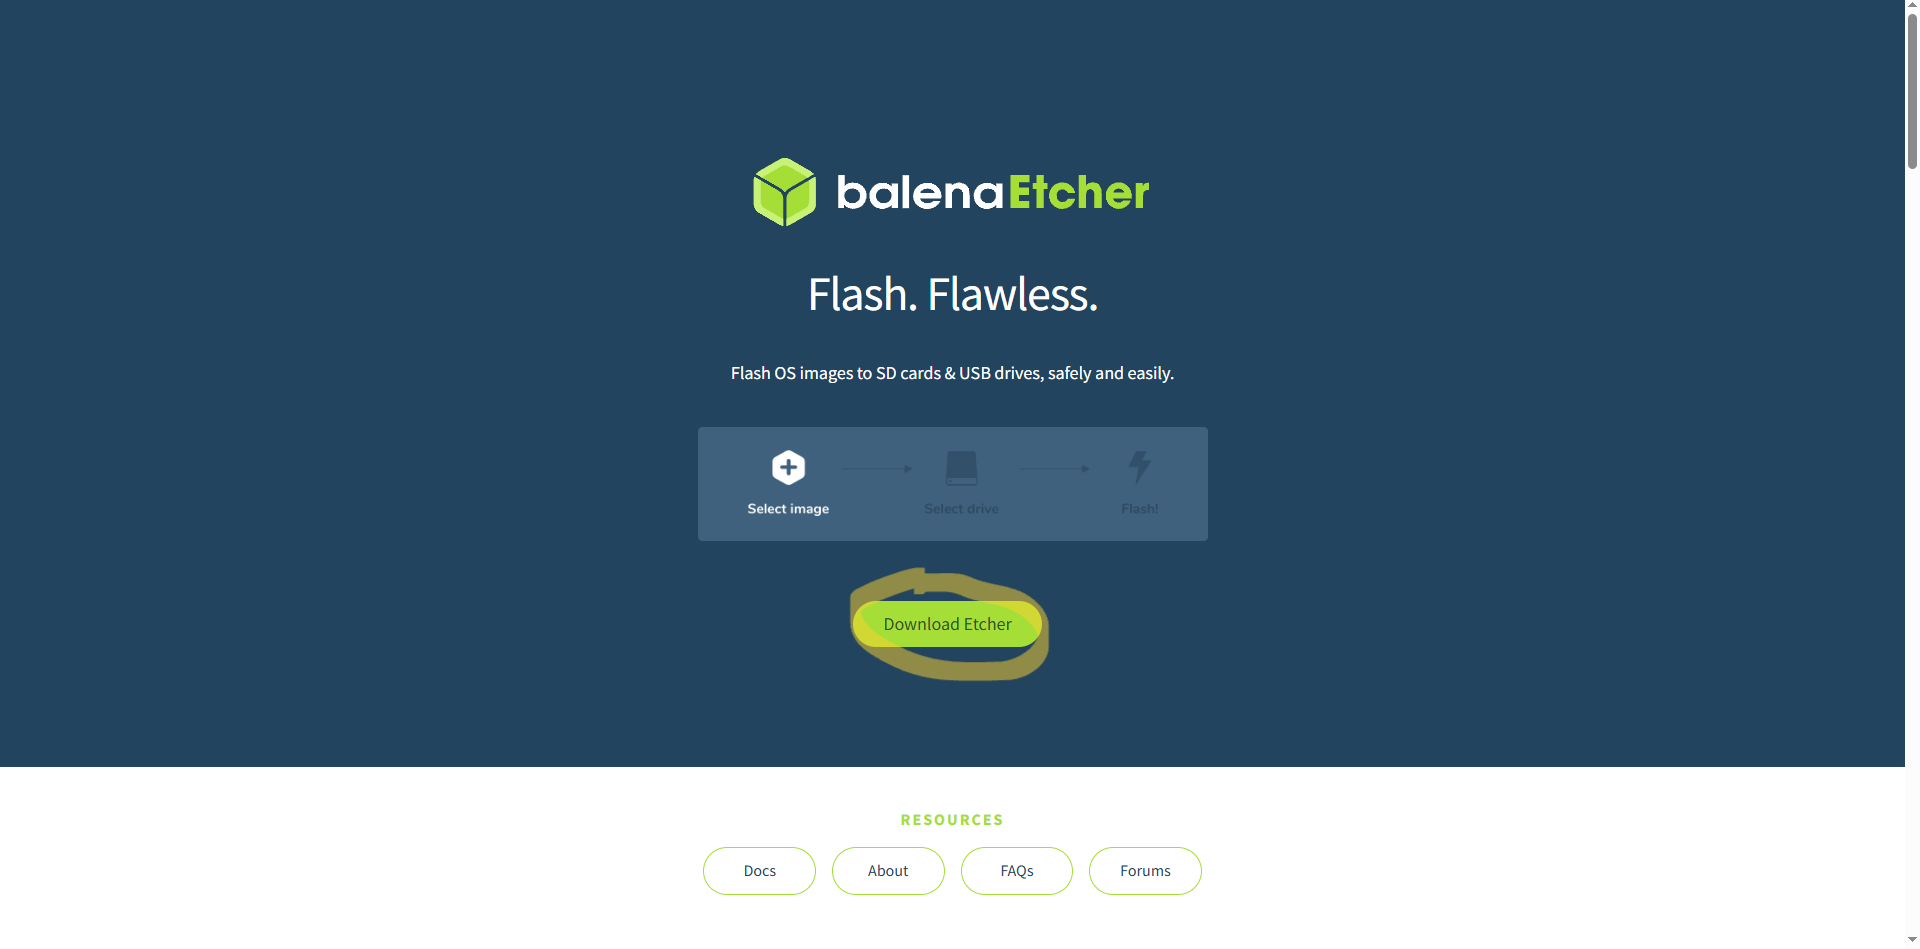
- Once on the webpage, click “Download Etcher” in the center of the page.
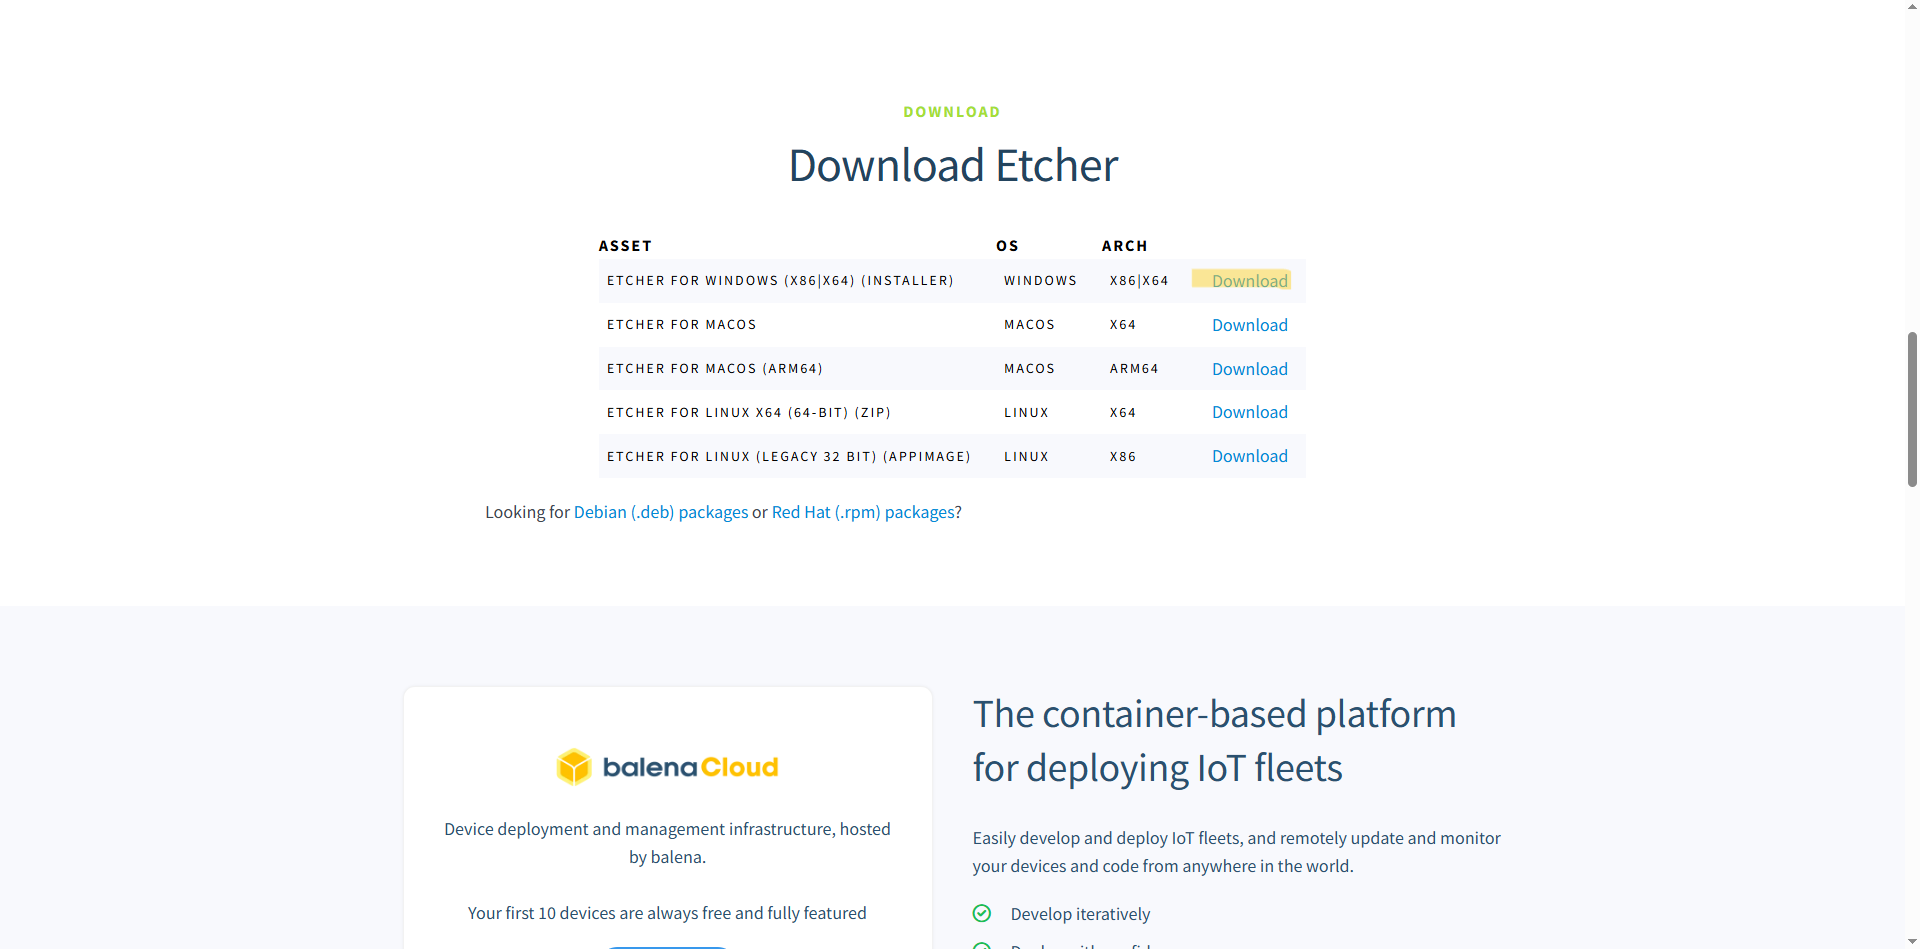
- Then you will be directed to the BalenaEther Download Page, select according to the operating system you are currently using. For example here I use Windows 64 bit.
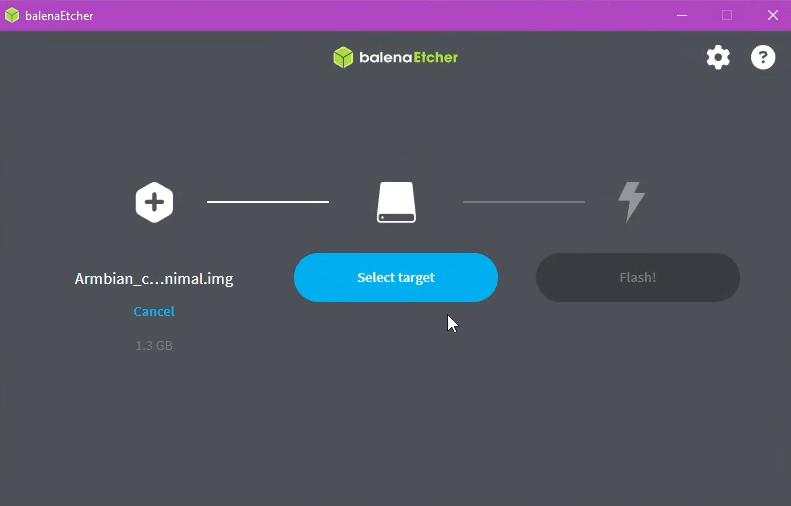
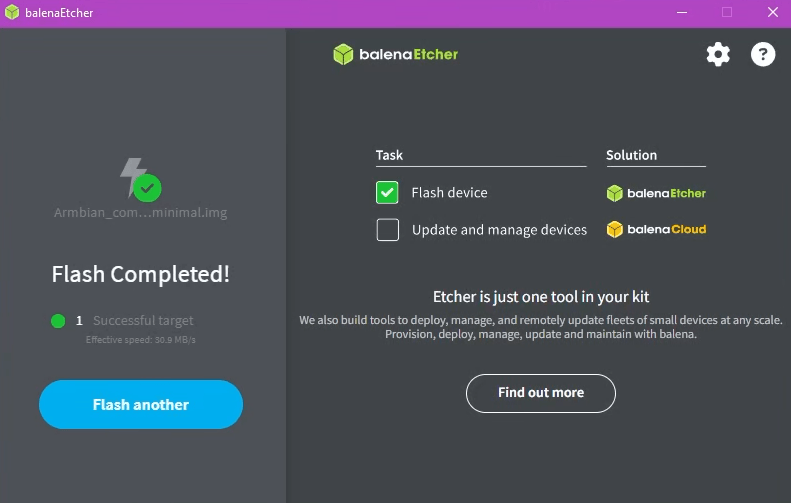
- If it has been downloaded, please run the BalenaEther.
- The main page of the balenaEtcher app is open.
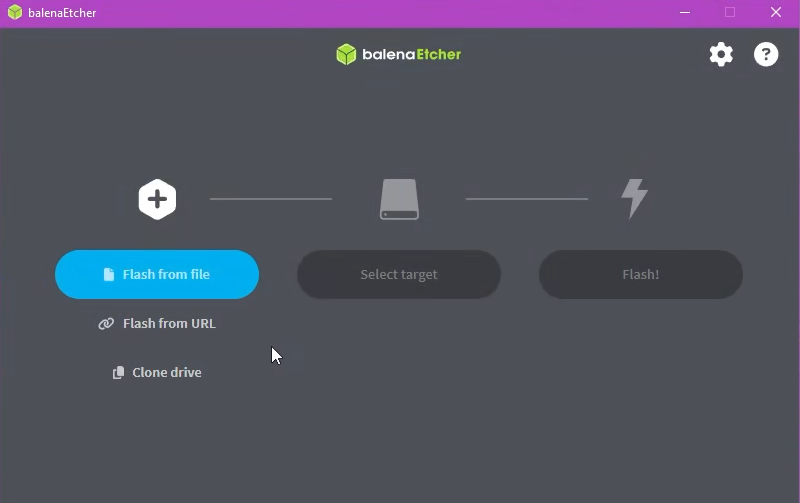
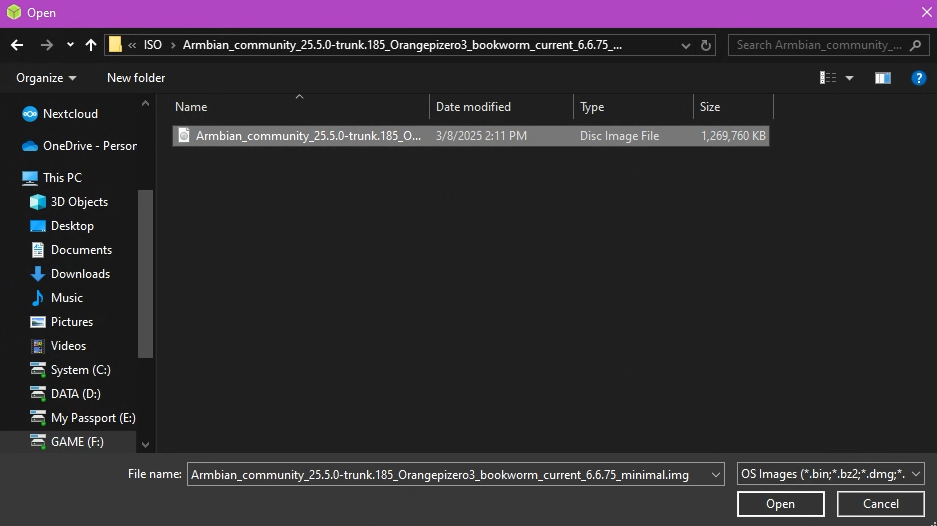
- Select Flash From File and then select the .IMG file that has been downloaded previously.
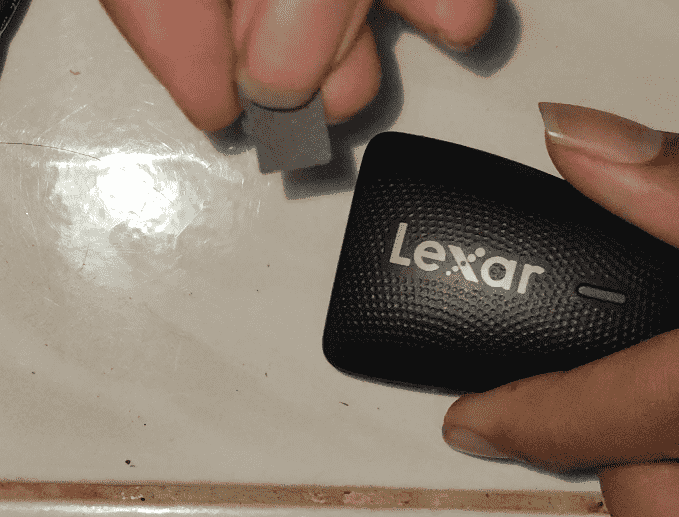
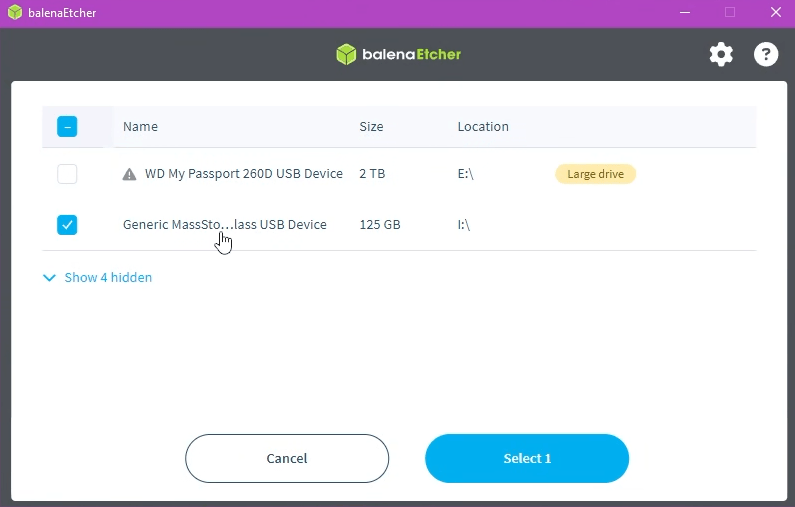
- Insert the MicroSD used to store the Armbian Orange Pi Zero 3 Operating System into the Card Reader and then insert it into the Computer/Laptop.
- Back to BalenaEtcher, click “Select Target” then select the MicroSD device. At this stage, you must be careful because if you choose the wrong target, the target will be formatted, so be careful and make sure the data on the MicroSD has been backed up, because the MicroSD will be formatted.
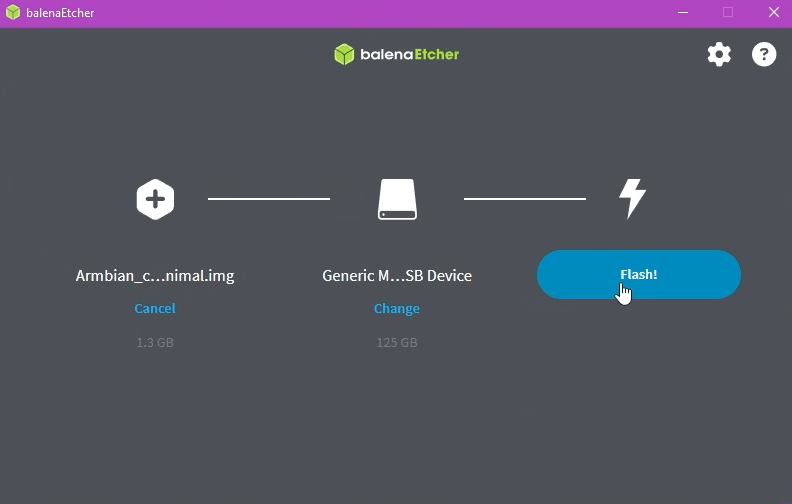
- If you are sure about the target selection, then click Flash next.
- Please wait a few moments for the process to complete.
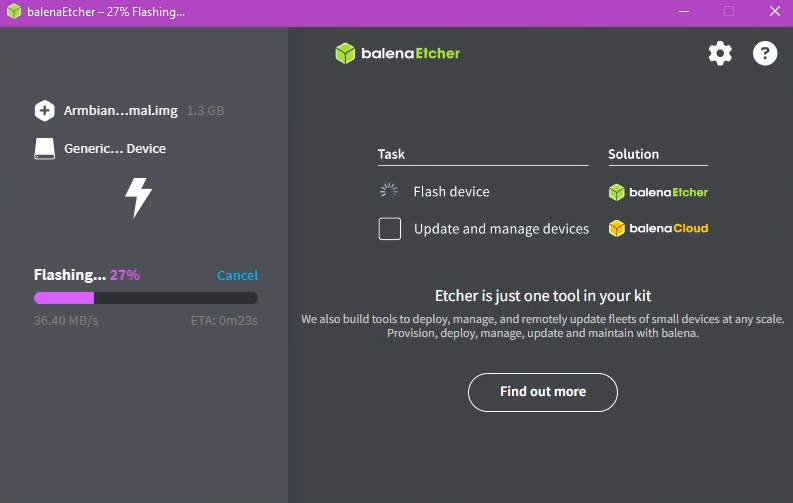
- The process is complete. Please unplug the Card Reader from the computer.
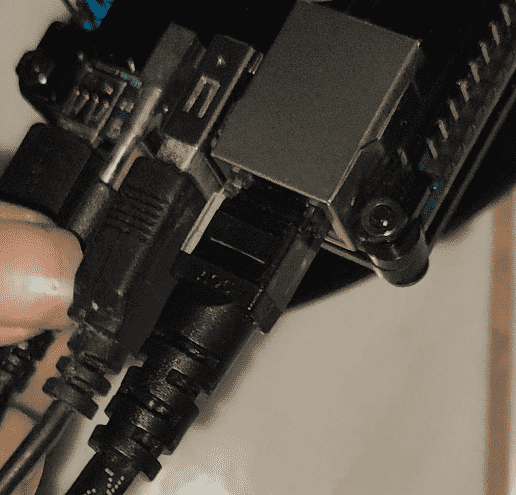
- Insert the MicroSD that has been flash earlier into the Orange Pi Zero 3.

- Please connect the Ethernet cable, Keyboard (optional), MicroHDMI (optional), and finally the type-c power cable. For Armbian CLI monitor output and keyboard are not required, later we install it using ssh remote, if you want to use monitor output and keyboard is also not a problem.
-
If there is already a blinking indicator on the Orange Pi Zero 3. Indicates that we can use the Orange Pi Zero 3.
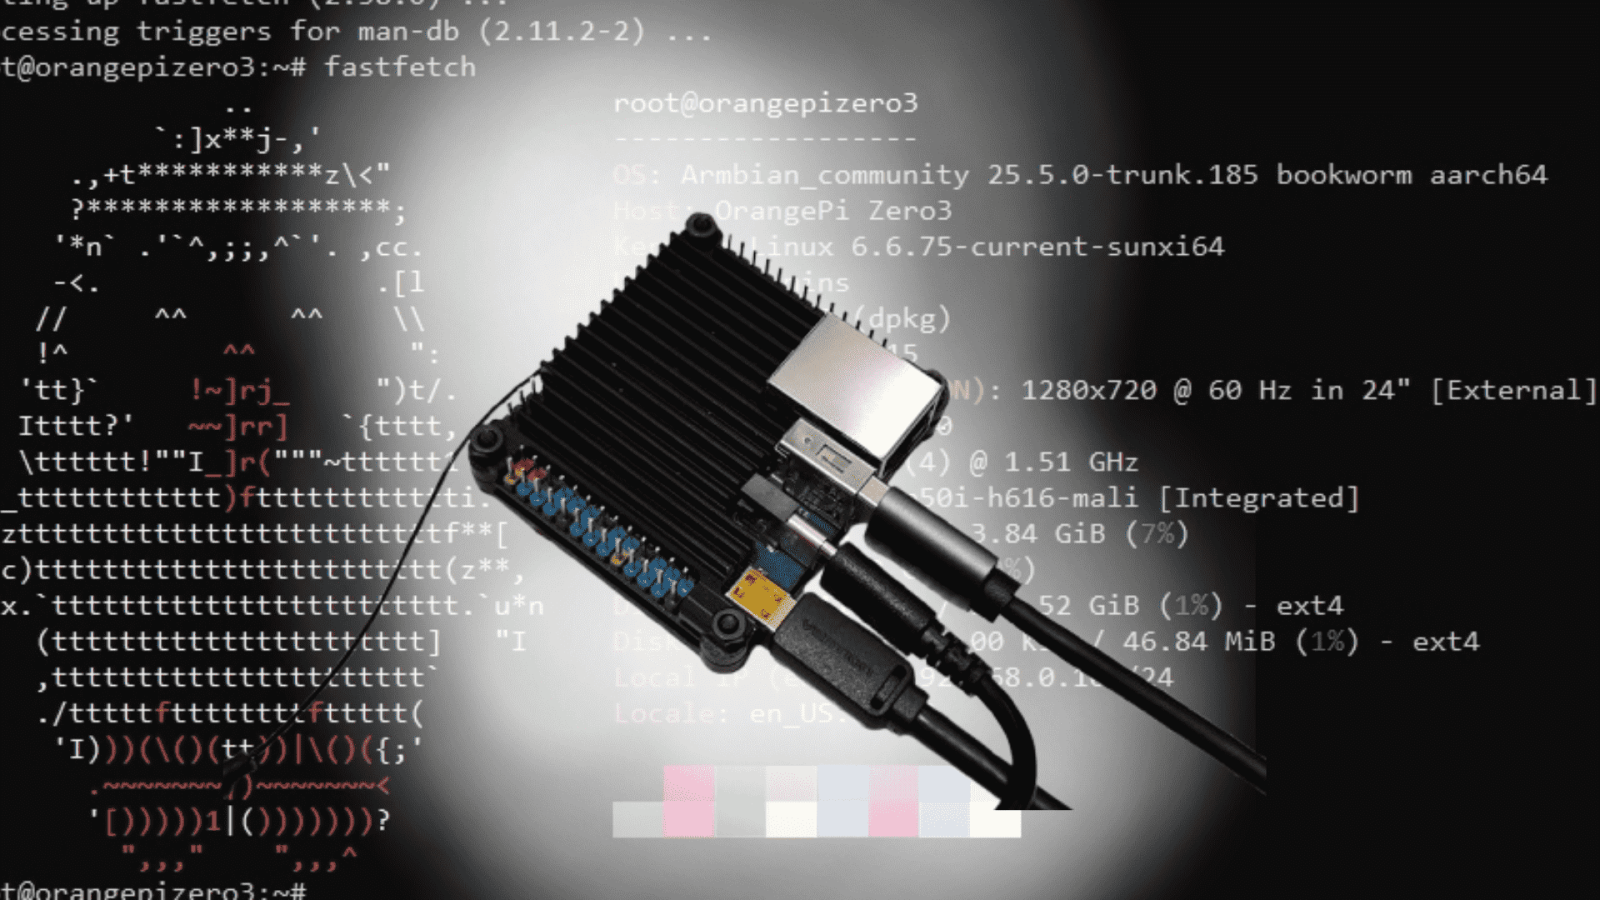
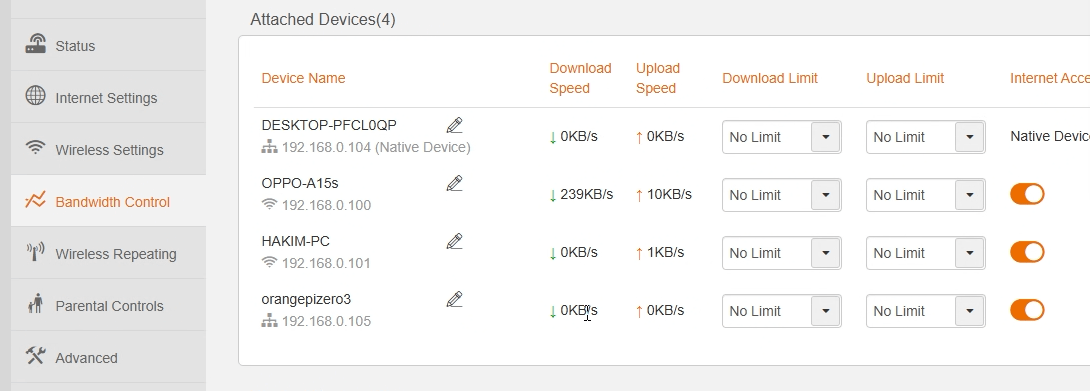
Next is to check the IP of this Orange Pi Zero 3 on your respective Router Admin Page, if you don't know how to try searching on Google with the keyword “Modem Model Admin Page” which is usually accessed using the Gateway IP Address. Here I use Tenda for access points, so I only need to visit http://192.168.0.1 then enter the password, on the bandwidth control menu there is the name “orangepizero3” which is the hostname of Orange Pi Zero 3, here Orange Pi Zero 3 gets IP 192.168.0.105.
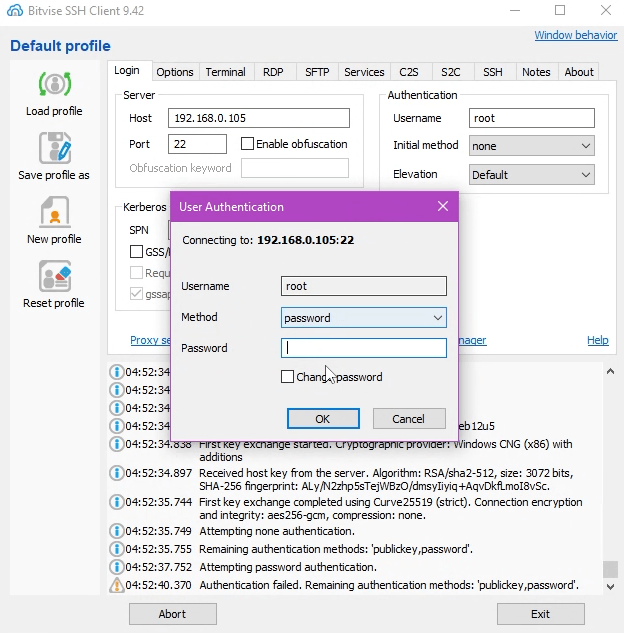
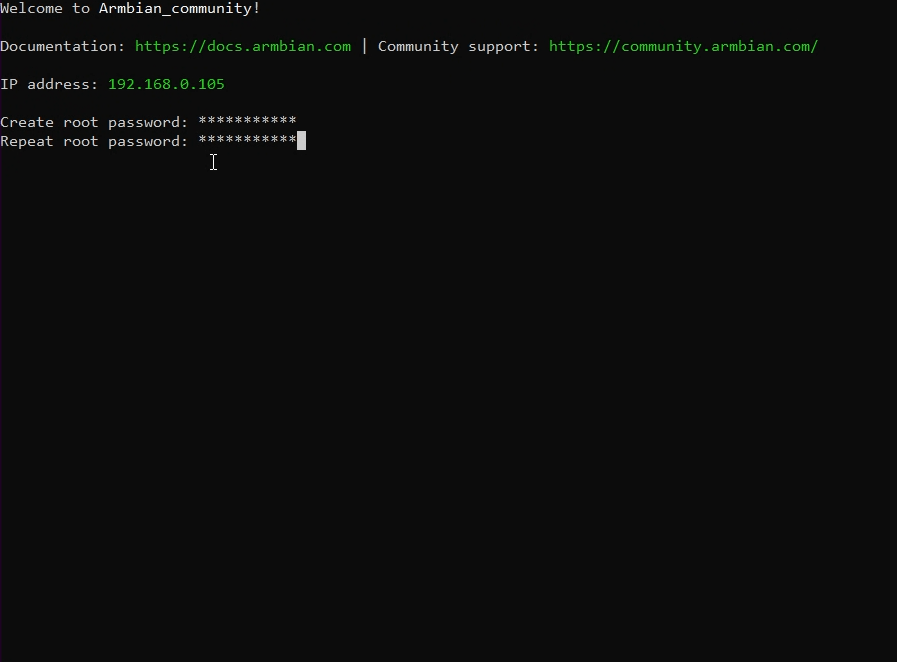
- If you have obtained the IP of the Orange Pi Zero 3, the next step is to remote the Orange Pi Zero 3 using SSH, here I use Bitvise SSH Client. Enter the IP, port 22 (default), username: root, and password: 1234.
- If you are connected, there will be a page to request a root password, here you are asked to create a root password, make sure you don't forget the password that has been created. Then on Repeat root Password, namely rewrite the password that was typed before.
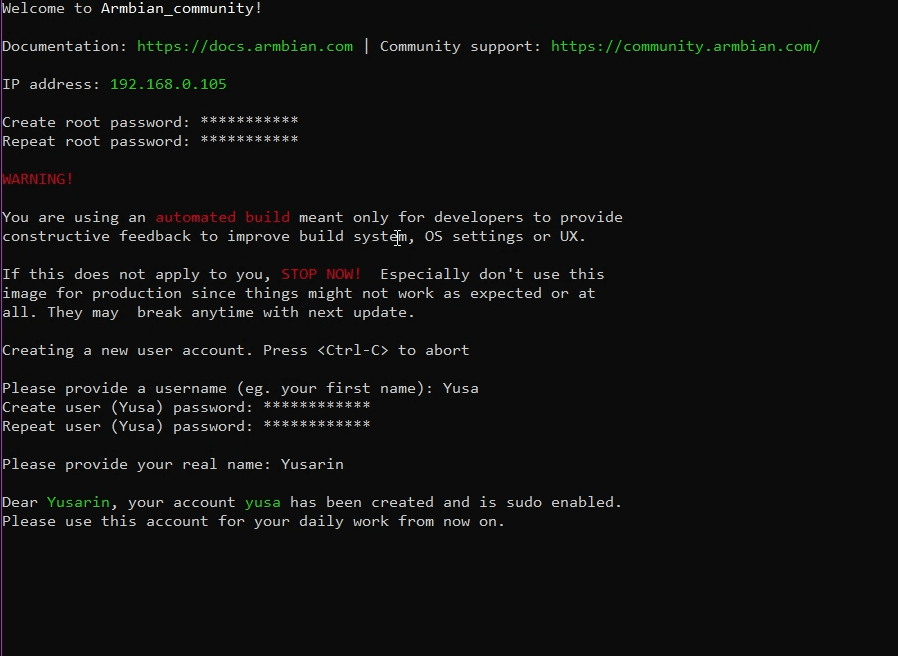
- Next, you are asked by the user to create an account that will be used to log in to Armbian, enter the Username and Password freely, but keep in mind.
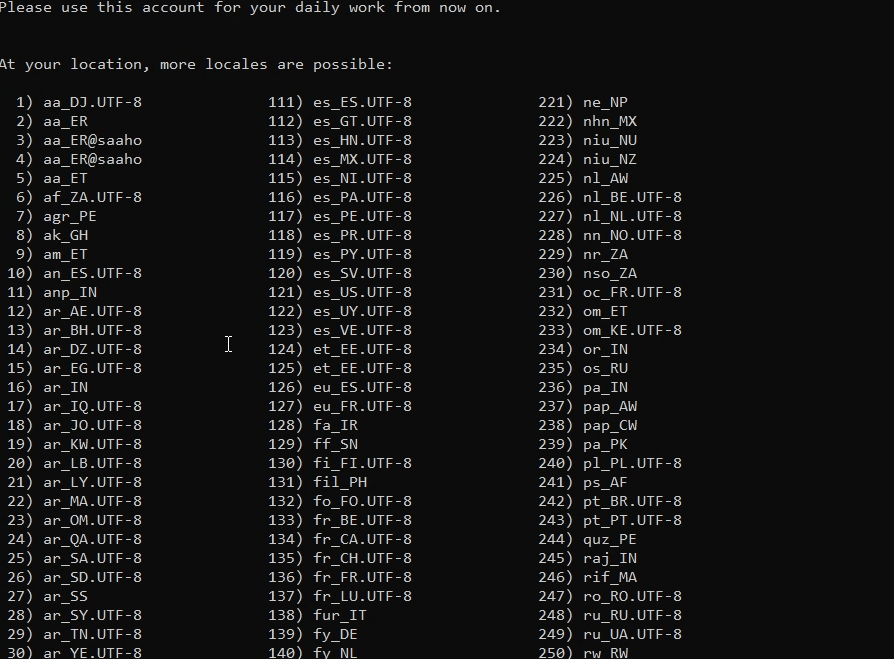
- Next is the Location pili, for this it is free, here I chose the wrong 121 es_us which should be en_us but it doesn't matter.
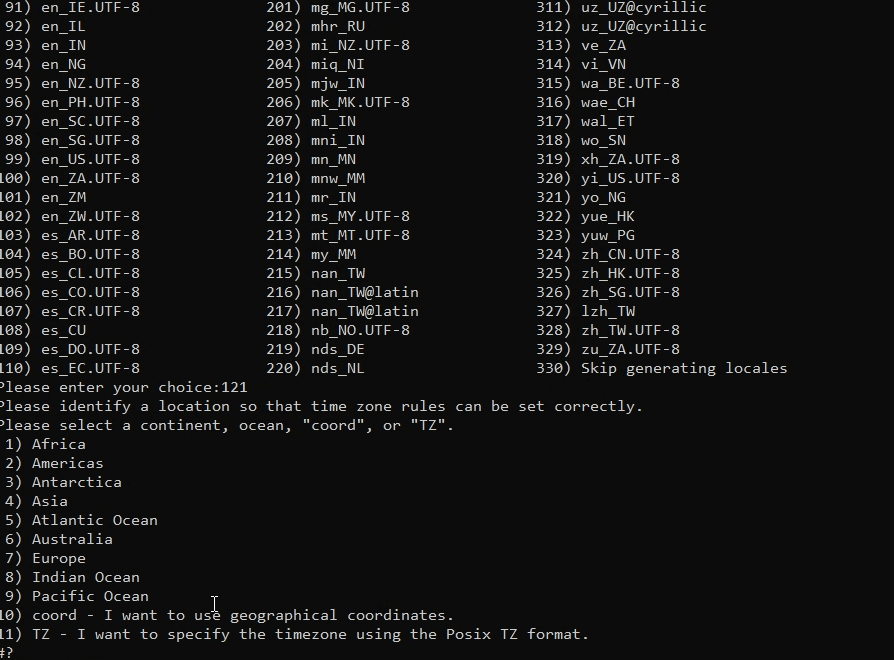
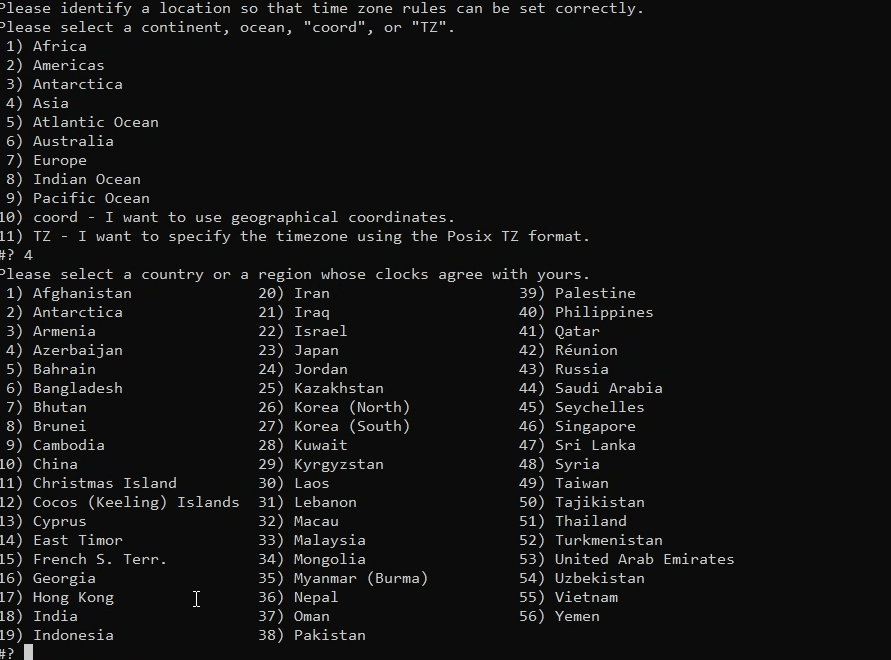
- In the section of selecting a time zone, here I selected “Asia”.
- In this section choose a country, here I choose Indonesia.
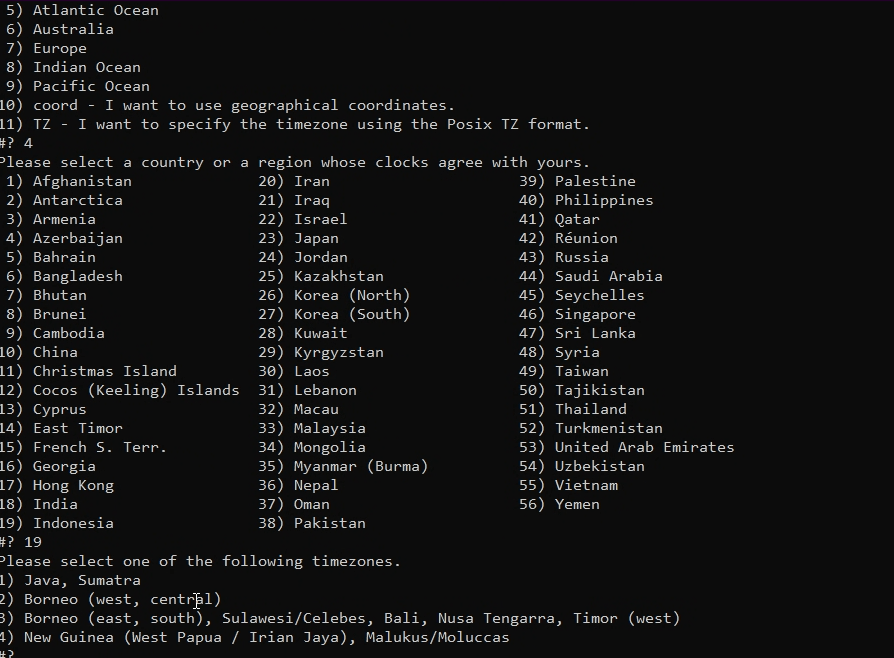
- This section is for time zone, here I choose Java, Sumatra.
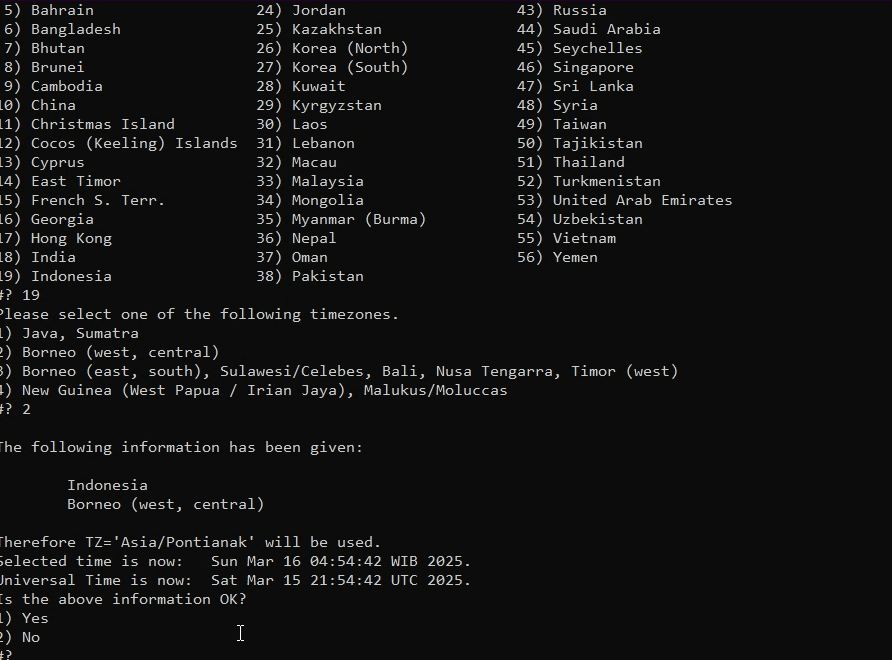
- This section is to confirm the previous selection, if there is an error you can select No, if it is correct just select Yes.
- The main page or MOTD has appeared.

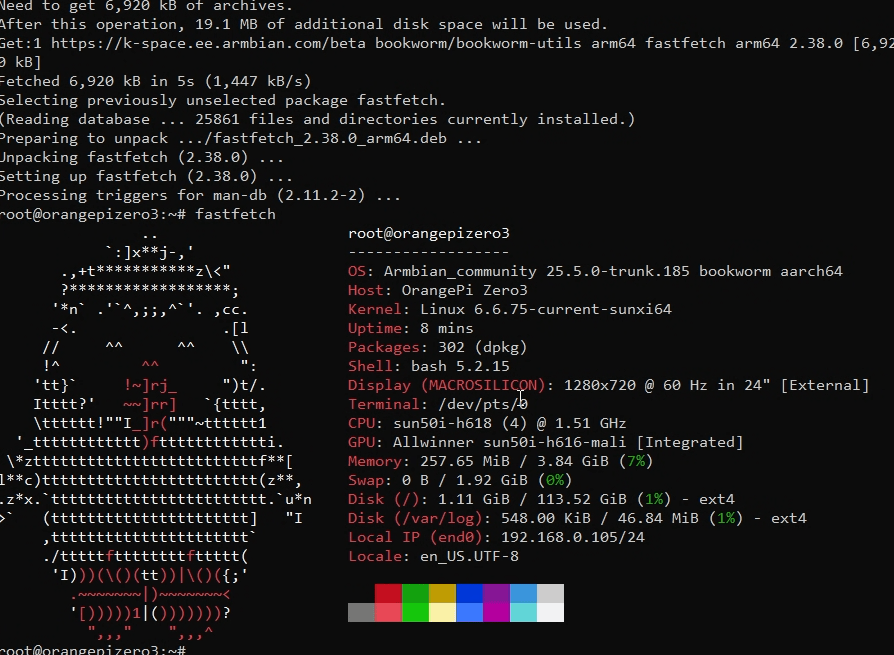
- Here I try to run apt-update and install a package “fastfetch” to make sure the internet connection is running smoothly.
Conclusion
Installing Armbian CLI on the Orange Pi Zero 3 is the best step for users who want to utilize this SBC as a lightweight server, IoT gateway, or an efficient Linux-based system. With Armbian, users get an operating system that is optimized for ARM devices, stable, and has low power consumption. The installation process is quite simple, from downloading the Armbian image, flashing it to a microSD card, to performing initial configuration. Once the installation is complete, users can directly access and manage the device via SSH or terminal. With a lightweight and efficient system, Armbian allows the Orange Pi Zero 3 to work with optimal performance according to user needs.
thank you for seeing and listening to this article, please apologize if there are errors in writing or conveying information.